
Creating a Zendesk Ticket in Azure Devops
- Login to Zendesk using your credentials
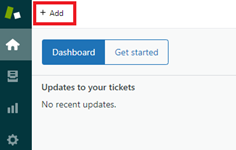
- Open a new ticket by selecting the + Add button in the top-left page header
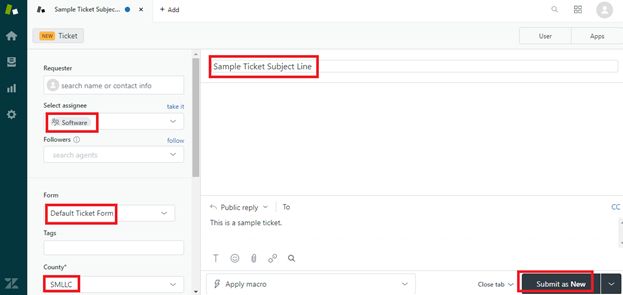
- Select or enter required information within the new ticket fields including:
- Assignee – select the Software team
- Default Ticket Form
- County
- Ticket Subject Line text
- Ticket Body text
- Select the Submit as New button to save and create the new ticket. The ticket screen will close
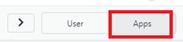
5. Re-open the ticket and select the Apps button to display the Azure DevOps application integration tool in the right-sidebar of the screen
6. Establish a new work item within Azure DevOps that will be connected to your existing Zendesk ticket by clicking the + Create button
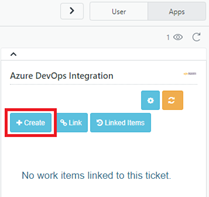
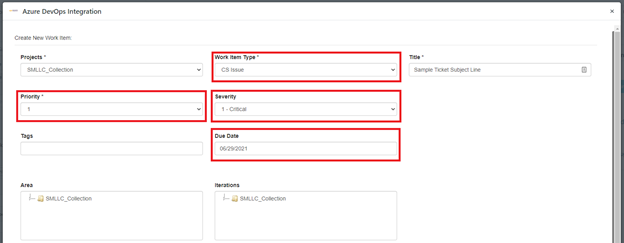
7. A new work item window will open and existing information from the Zendesk ticket will be pulled into the matching Azure fields such as the ticket Title and Description
8. Fill in the remaining fields before creating the new work item:
- Work Item Type – CS Issue should be selected
- Priority/Severity – Should match the CS Priority Scale of the ticket
- Due Date – Enter the date for tickets that need to be completed within a timeframe
- County Impacted
- CS Priority
- Product
- File Attachment Upload – upload screenshots and attachments using the file explorer, if applicable

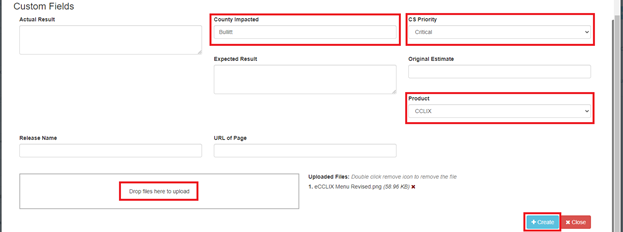
9. Click the + Create button and the Azure ticket history will update with an Azure work item link confirmation
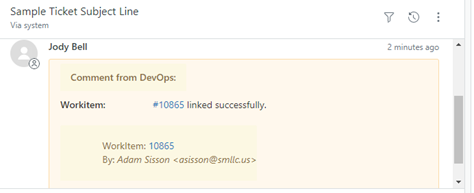
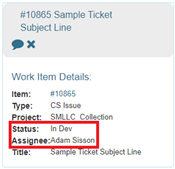
10. The status of the Azure work item can be viewed within the application integration panel in Zendesk as it is updated in real-time by the Software Team
Azure Work Item Correspondence from Zendesk
Correspondence can be initiated with the Software Team within Zendesk by replying as an internal note in the ticket. The Customer will not see this internal note.
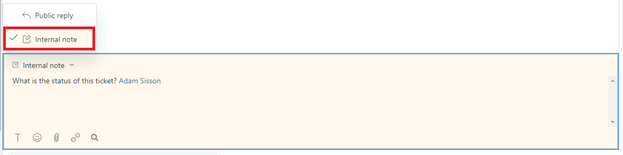
The ticket history will be updated with the note in Zendesk after submitting.

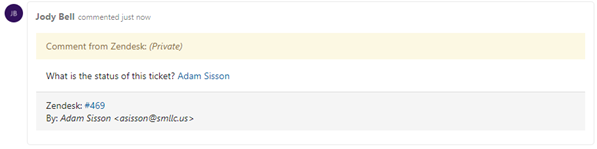
Replies will be added as discussion comments on the linked Azure work item, sending a notification to the assigned developer in an email notification.
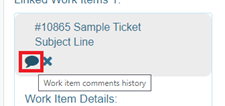
An entire comment history log on the Azure work item can be viewed by clicking the Work Item Comments History speech button in the integrated application sidebar.
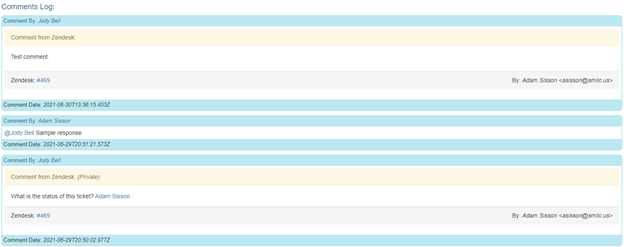
The popup window will display all comments that display in the Azure Work Item.
Comments
0 comments
Please sign in to leave a comment.